

how to write better on ipad
Handwriting on the iPad: How to use Apple Scribble

Have you ever wanted use handwriting on the iPad? Thanks to Apple Scribble, that is an option. Perfect for scribbling notes or, well, whatever else you want to write, you can use your stylus (or finger) to write on your iPad – and Scribble will transform it into text. You can use it for filling in text fields, setting reminders, making notes and more – brilliant news for those who don't want to fiddle with the on-screen keyboard.
Scribble has a bunch of features you'll need to learn about to improve the experience, including drawing particular patterns to perform different function (like zig-zagging to delete, for example). Our guide will explain the basic and advanced features of Scribble so you can use it to its full potential.
Need a new stylus? Try our guides to the best iPad stylus, and the best Apple pencil alternatives. Or, if you want an actual Apple Pencil, see this list of cheap Apple Pencil deals around right now.
How to enter text as handwriting on the iPad with Scribble
01. Try Scribble
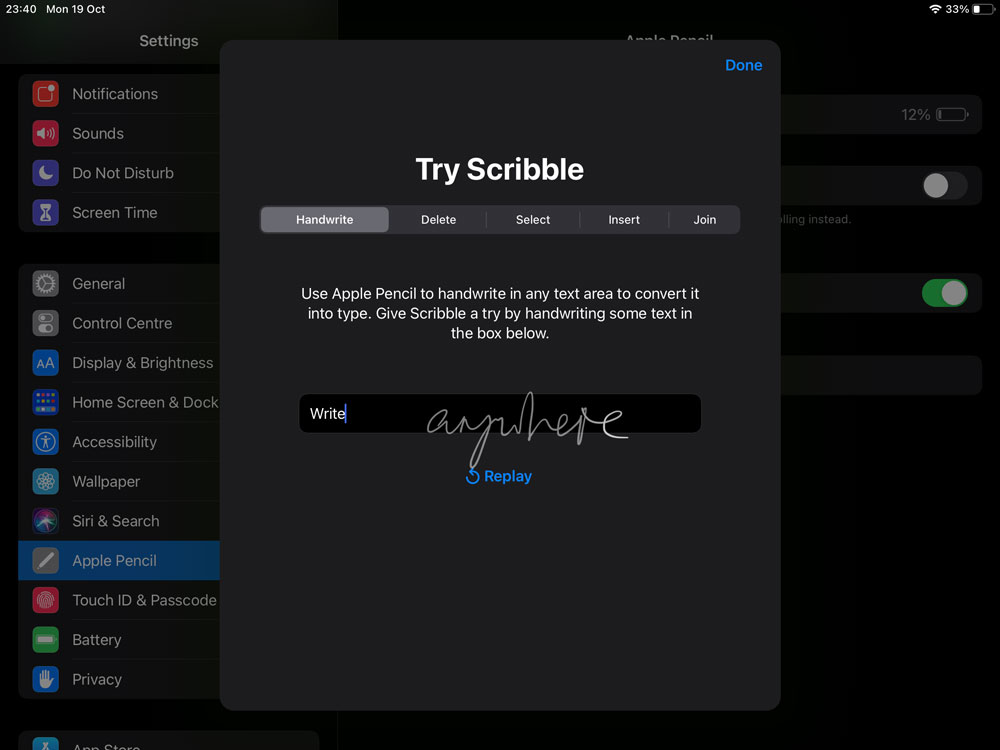
(Image: © Apple/Adam Banks)
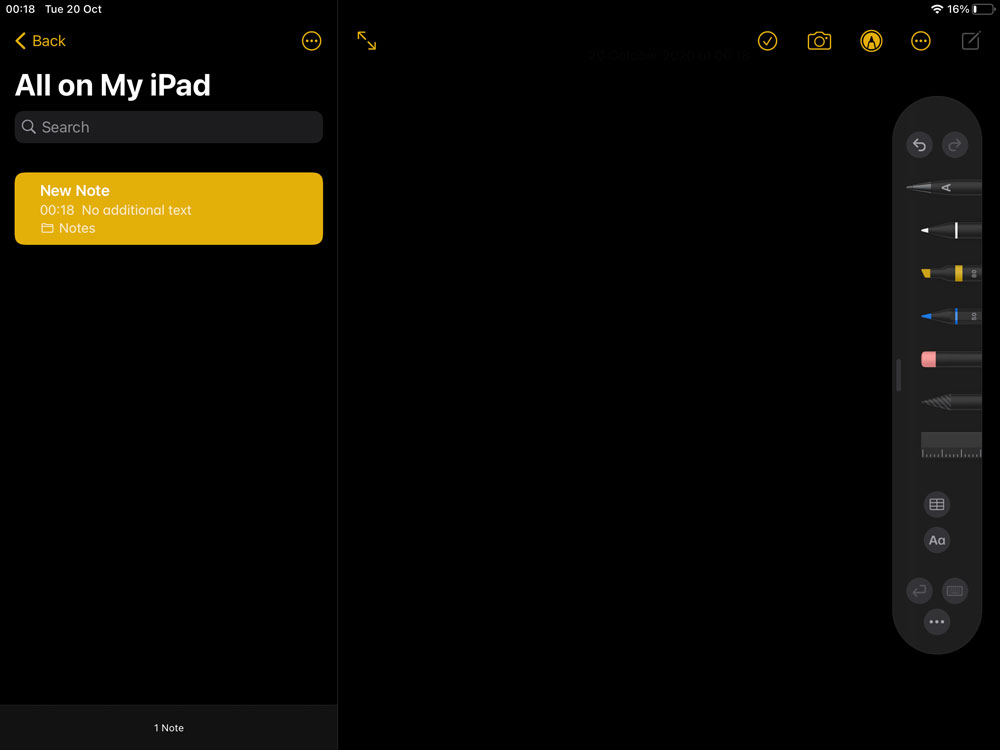
Turn on Scribble in Settings > Apple Pencil. Below, tap Try Scribble. In the Handwrite tab, simply start writing in the box. Notice that you needn't stay within it; you can write bigger, or elsewhere on the screen.
02. Draw a zig-zag to delete
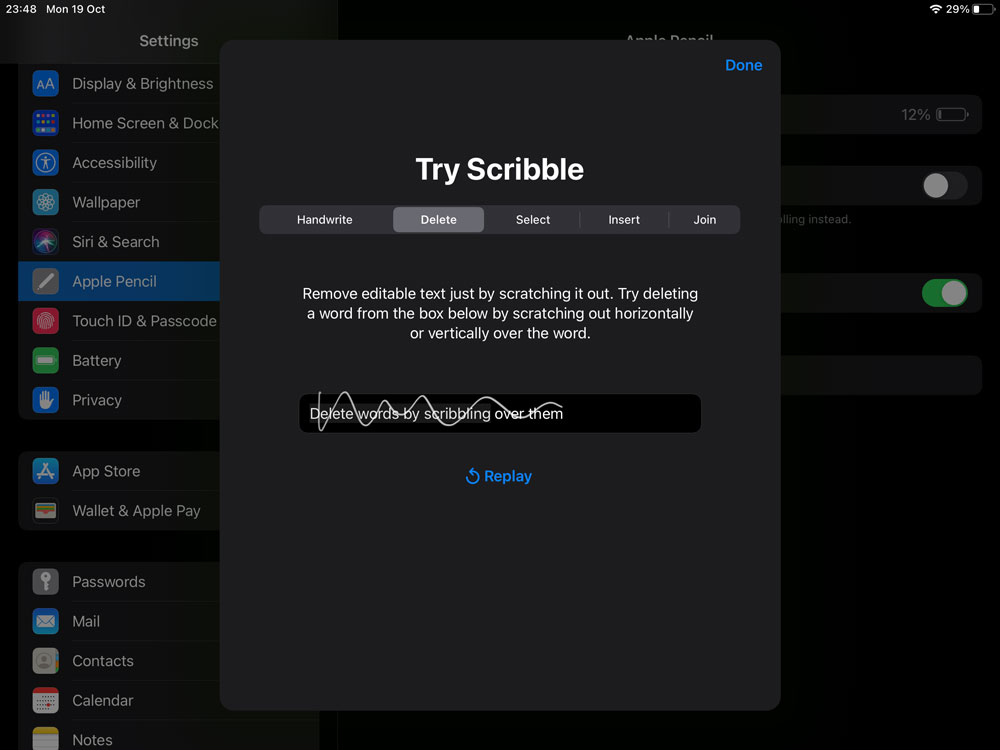
(Image: © Apple/Adam Banks)
After a few strokes, iPadOS will start to type, but you can carry on writing while it does so. In the Delete tab, see how scribbling across words removes them. A single vertical or horizontal zig-zag will do the trick.
03. Select text
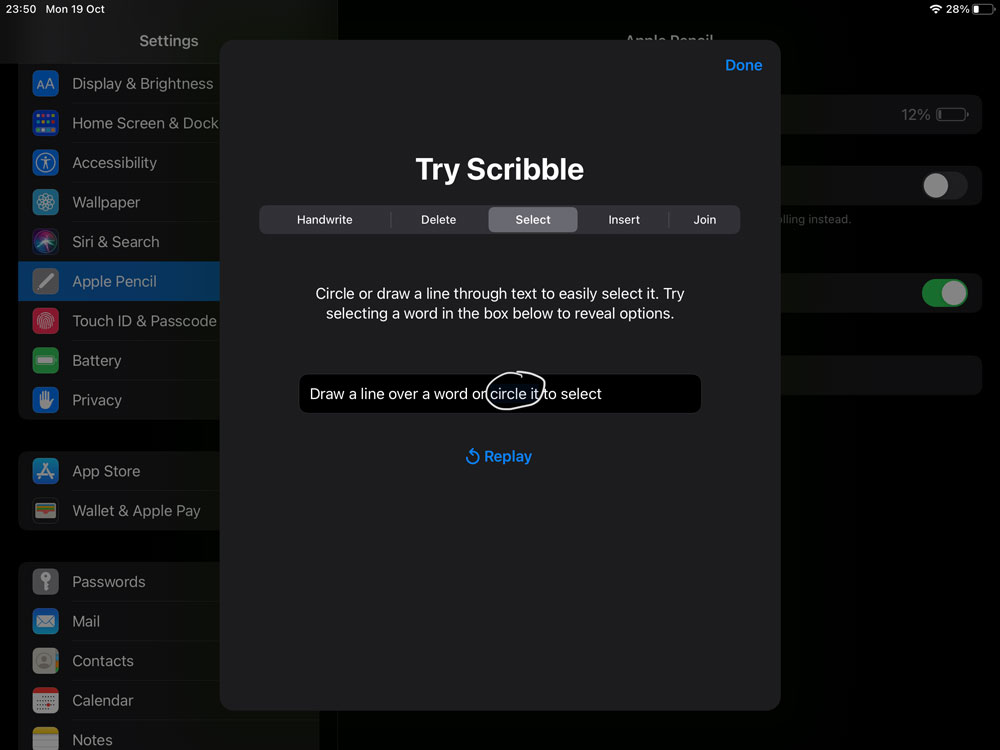
(Image: © Apple/Adam Banks)
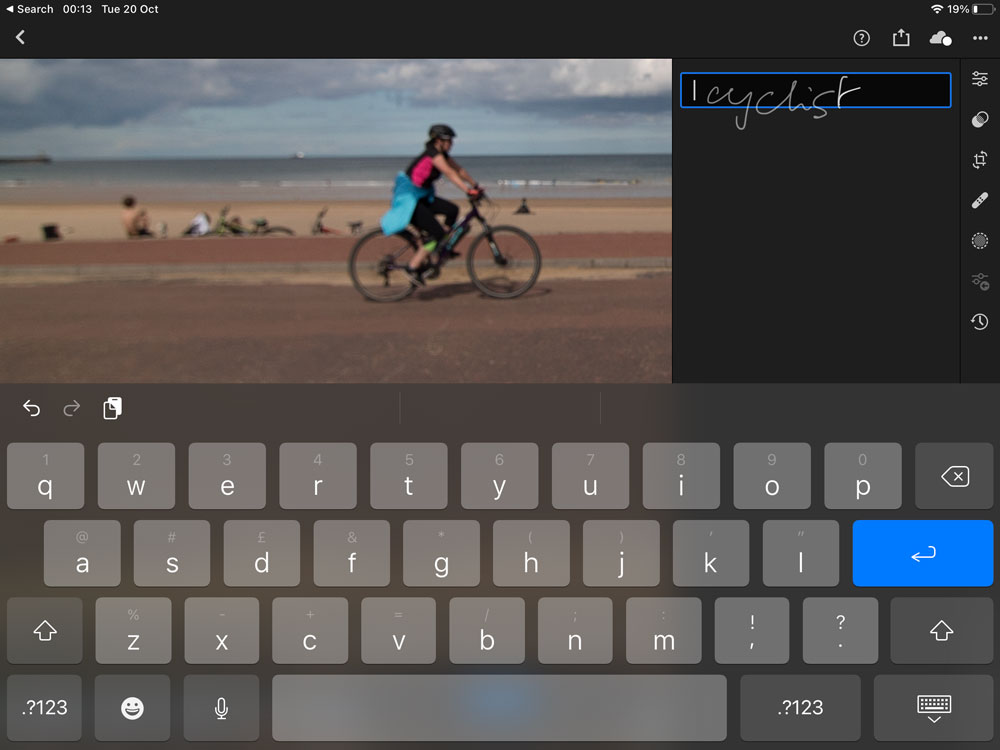
In the Select tab, try selecting text either by drawing a plain horizontal line through it or a circle around it. Again, Scribble selects whole words, but you can drag the blue handles to add or subtract characters.
04. Insert text
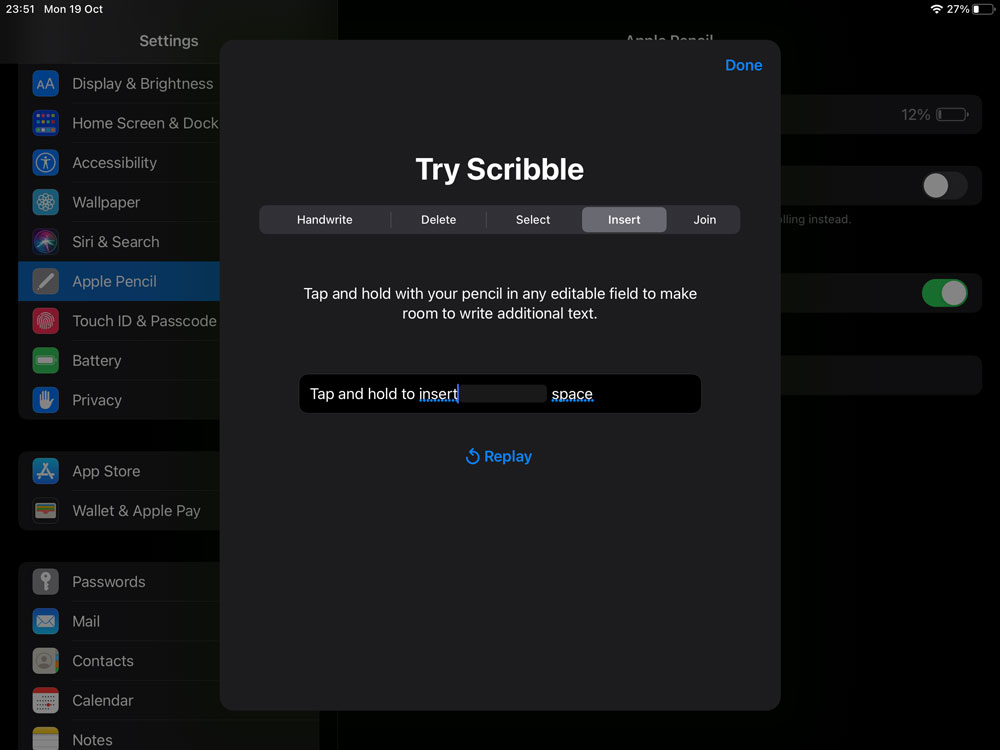
(Image: © Apple/Adam Banks)
The Insert tab shows how you can tap and hold to insert text, but it's unnecessary: just tap to place the cursor, then write text to insert. As seen in Join, draw a vertical line to add or remove a space character.
05. Use it any time, any place
(Image: © Apple/Adam Banks)
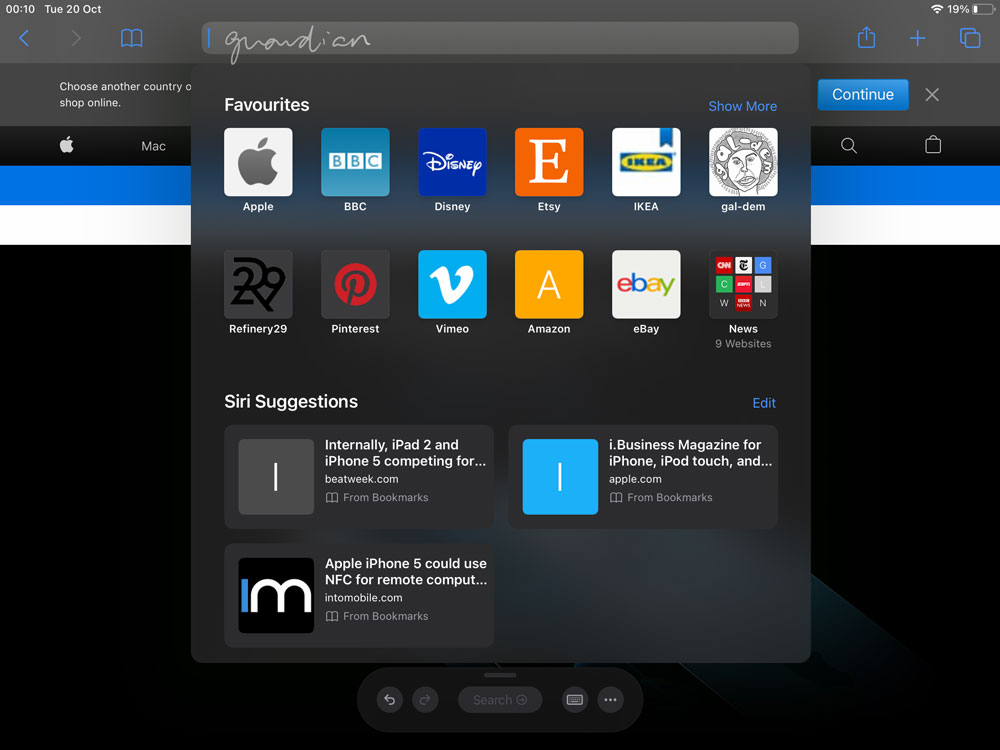
Scribble doesn't need to 'learn' your handwriting, and works in any standard text input box. For example, write into Safari's URL/search field and tap a suggested hit. You can also write straight into text fields on web pages.
06. Scribble text in apps
(Image: © Apple/Adam Banks)
Scribble also works in text entry fields within apps (you may need to tap
the box first). Support for apps that make more sophisticated use of text will need adding by developers; for example, Word isn't yet supported.
Handwriting on the iPad: How to use Scribble's advanced features in Notes
01. Tap markup pen
(Image: © Apple/Adam Banks)
In iPadOS' Notes app, Scribble can be used in two ways (this may vary in third-party note-taking apps). In a note, tap the Markup pen icon at the top right and pick the new Handwriting ('A') pen.
02. Tap to return
(Image: © Apple/Adam Banks)
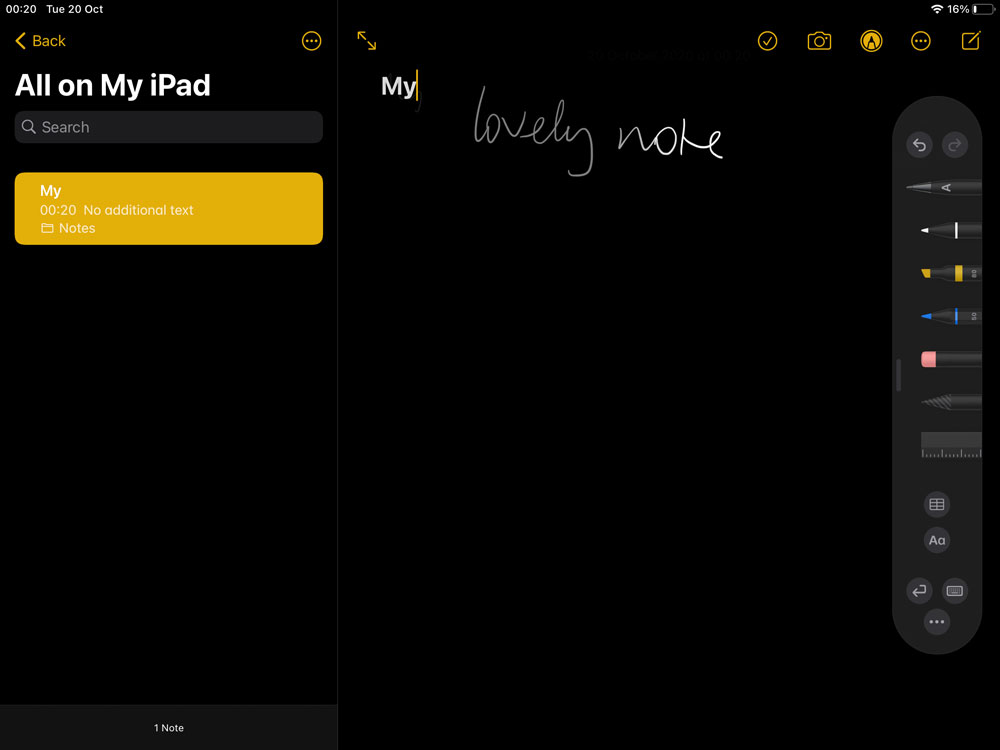
Using the Pencil, write anywhere in the note view and you'll see recognised
characters are typed at the current cursor position. Notice the Return button at the bottom right, which you can tap to start a new line.
03. Draw with Finger
(Image: © Apple/Adam Banks)
Alternatively, pick any other pen tool and write text, at any size, wherever you
want it. This also works without a Pencil: tap the three dots icon in the Markup toolbar at the bottom and switch on Draw with Finger.
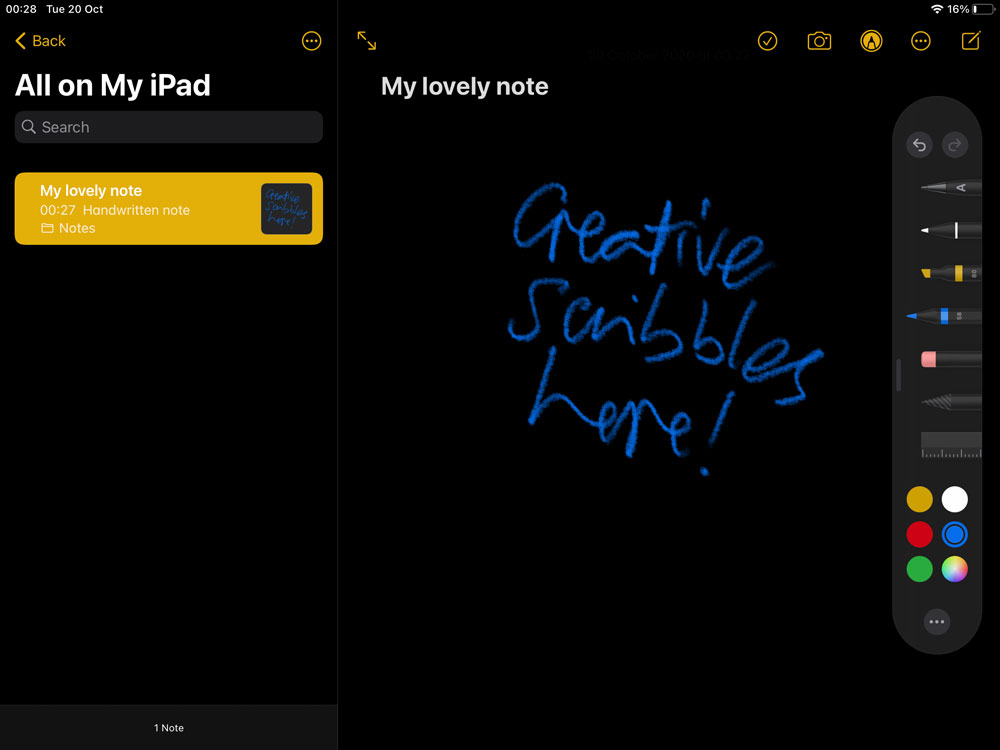
04. Select the text
(Image: © Apple/Adam Banks)
Deselect the Markup pen at the top, then use your finger to long-press the
text you've written until it highlights. Drag the yellow selection handles to select more (even on multiple lines) or less. Tap for editing options.
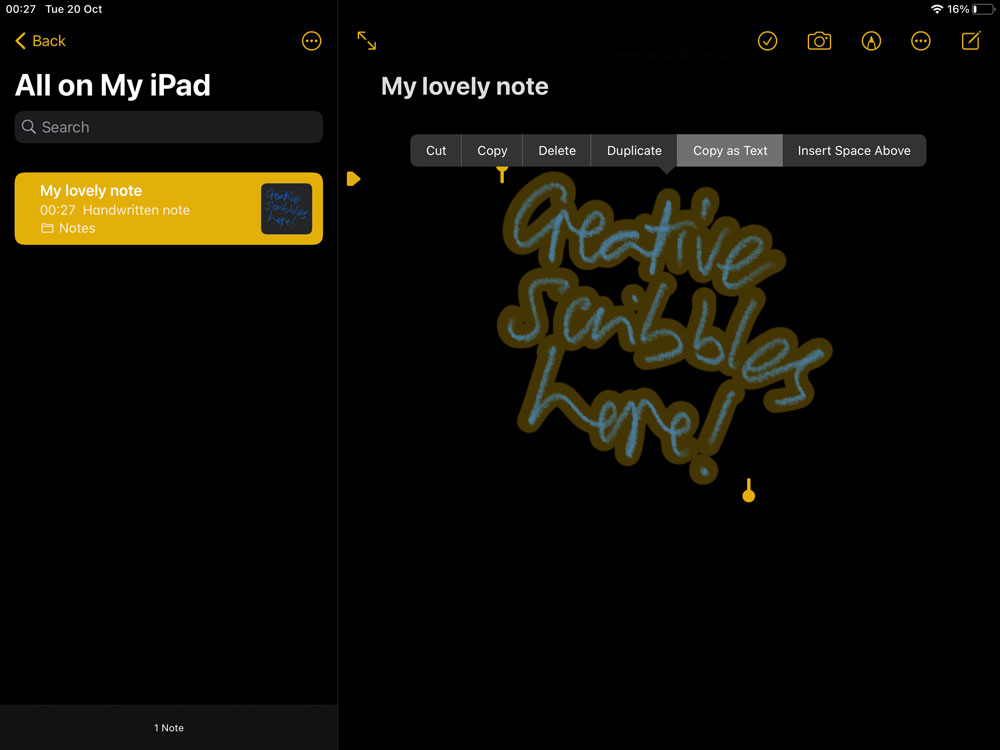
05. Edit and search
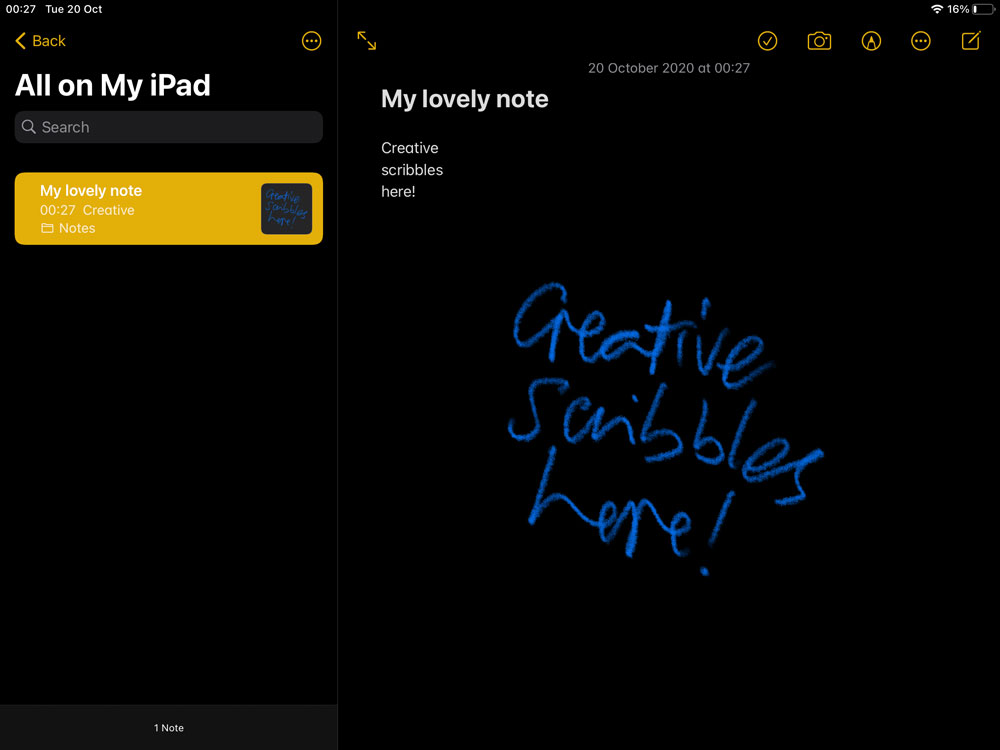
(Image: © Apple/Adam Banks)
Your handwritten text is editable and searchable. (If this is the first line, it also sets the note's title.) You can choose Copy as Text to add it to the iPadOS clipboard as ordinary text and paste it anywhere else.
06. Try out shape recognition
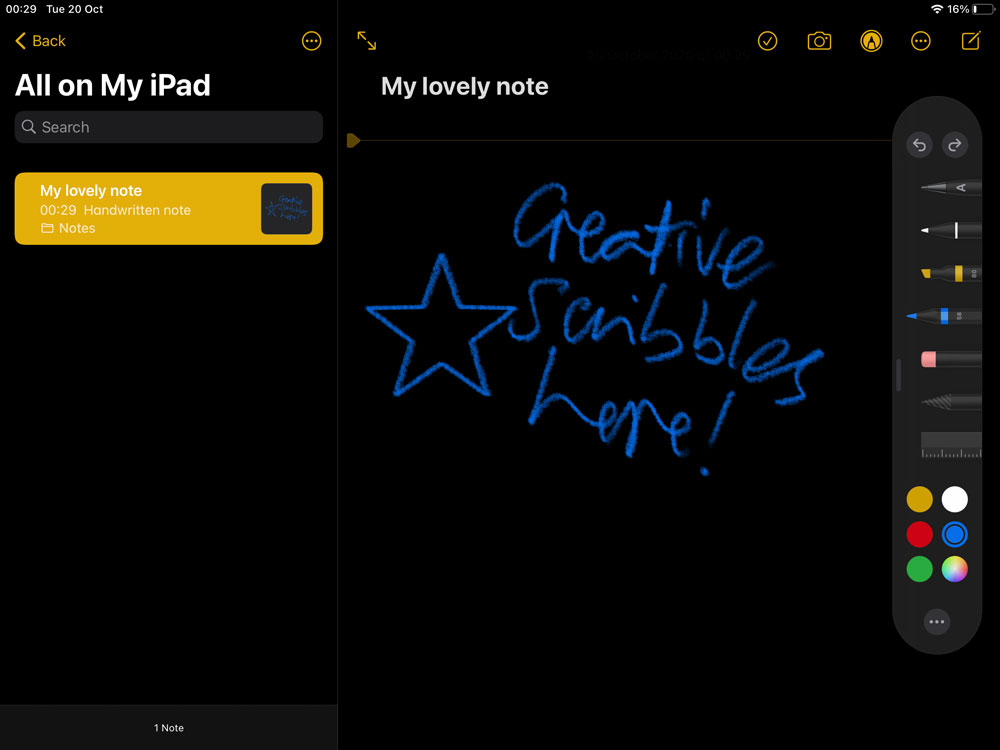
(Image: © Apple/Adam Banks)
Shape recognition is also new (and, unlike Scribble, also in iOS 14).
Roughly draw a square, circle, triangle or star, and keep your Pencil or finger held down. You'll see it pop into shape, and it can be selected and moved.
This content originally appeared in MacFormat; subscribe to MacFormat here .
Read more:
- 6 brilliant apps for learning a new skill
- Best iPad Pro apps: Make your Apple Pencil shine
- Best iPad stylus: Top iPad pens for drawing and note-taking
Adam is a widely published tech writer and designer. He was previously editor-in-chief and creative director at MacUser.
Related articles
how to write better on ipad
Source: https://www.creativebloq.com/how-to/handwriting-on-the-iPad
Posted by: drinnonhused1980.blogspot.com
0 Response to "how to write better on ipad"
Post a Comment